Here are simple and clear instructions on how to install the module (plugin) in your PrestaShop store or WordPress site. Select the appropriate section below and proceed step by step - it's easier than you think!
1. download the module
Did you buy a module from our store? Great! Download the file (usually in .zip format) to your computer and keep it handy.
2. log in to the administration panel
Go to your PrestaShop site and then to the admin panel (usually an address like yourjasklep.co.uk/admin). Enter your login and password.
3. go to the modules section
In the menu on the left, find the "Modules" tab (sometimes called "Modules and Services") and click "Module Management" or "Module Directory."
4. add a new module
At the top of the page you will see a button "Add new module" or "Upload module" (with an up arrow icon). Click it.
5. upload file
In the window that appears, select the downloaded .zip file from your computer and click "Open" or "Upload". PrestaShop will unzip and install the module itself.
6. activate the module
After uploading, find the module in the list (you can use the search engine in the panel). Click "Install" and then, if necessary, "Configure" to adjust the settings to your needs.
7. check operation
Visit your store as a customer and make sure everything works as it should. Done!
Tip: If something doesn't work, make sure the module is compatible with your version of PrestaShop - this is key.
1. download the plug-in
After purchasing from our store, you will get a .zip file with the plug-in. Save it to your computer for easy access.
2. log into the cockpit
Go to your WordPress site, and then to the admin panel (address like yourwebsite.com/wp-admin). Enter your login information.
3. go to the plugins section
In the menu on the left, click "Plugins" and then "Add plugin" (at the top of the page).
4 Upload the plug-in
At the top of the screen, you will find a button "Upload plug-in to server" (or similar). Click it, and then "Select file." Point to the downloaded .zip file and click "Open" and then "Install now."
5. activate the plug-in
After installation, WordPress will show you a success message. Click "Enable Plugin" to get it working.
6. configure settings
In the "Plugins" menu, or sometimes in a separate tab (e.g. "Settings"), find your plugin and customize it to your needs - for example, enable the features you want to use.
7. test on the site
Go to your site and see if the plug-in works as you expected. If everything works, mission accomplished!
Tip: Make sure your WordPress version matches the plugin's requirements - you'll avoid surprises.
Ready? Now your website can gain new capabilities - good luck!
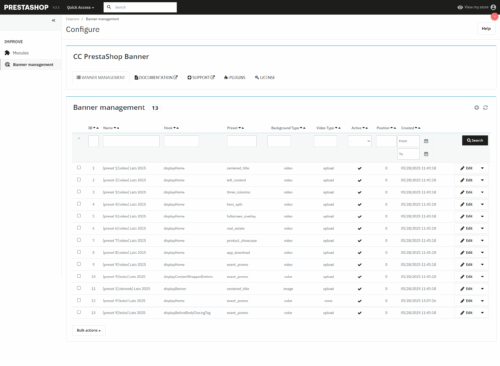
Module installation in PrestaShop
Want to add a new feature to your store? Here's what you need to do:1. download the module
Did you buy a module from our store? Great! Download the file (usually in .zip format) to your computer and keep it handy.
2. log in to the administration panel
Go to your PrestaShop site and then to the admin panel (usually an address like yourjasklep.co.uk/admin). Enter your login and password.
3. go to the modules section
In the menu on the left, find the "Modules" tab (sometimes called "Modules and Services") and click "Module Management" or "Module Directory."
4. add a new module
At the top of the page you will see a button "Add new module" or "Upload module" (with an up arrow icon). Click it.
5. upload file
In the window that appears, select the downloaded .zip file from your computer and click "Open" or "Upload". PrestaShop will unzip and install the module itself.
6. activate the module
After uploading, find the module in the list (you can use the search engine in the panel). Click "Install" and then, if necessary, "Configure" to adjust the settings to your needs.
7. check operation
Visit your store as a customer and make sure everything works as it should. Done!
Tip: If something doesn't work, make sure the module is compatible with your version of PrestaShop - this is key.
Installing the plugin in WordPress
Have a site on WordPress and want to improve it? Here's how to add a new plugin:1. download the plug-in
After purchasing from our store, you will get a .zip file with the plug-in. Save it to your computer for easy access.
2. log into the cockpit
Go to your WordPress site, and then to the admin panel (address like yourwebsite.com/wp-admin). Enter your login information.
3. go to the plugins section
In the menu on the left, click "Plugins" and then "Add plugin" (at the top of the page).
4 Upload the plug-in
At the top of the screen, you will find a button "Upload plug-in to server" (or similar). Click it, and then "Select file." Point to the downloaded .zip file and click "Open" and then "Install now."
5. activate the plug-in
After installation, WordPress will show you a success message. Click "Enable Plugin" to get it working.
6. configure settings
In the "Plugins" menu, or sometimes in a separate tab (e.g. "Settings"), find your plugin and customize it to your needs - for example, enable the features you want to use.
7. test on the site
Go to your site and see if the plug-in works as you expected. If everything works, mission accomplished!
Tip: Make sure your WordPress version matches the plugin's requirements - you'll avoid surprises.
Did something go wrong?
- Check if the .zip file is not corrupted (try downloading it again).
- If you see an error, make a note of it and contact us - we can help!
- On both systems, it's a good idea to back up your site before installation. Security first and foremost!
Do you continue to have problems?
If you're a customer of ours and something is still wrong, don't worry - we're here to help! Take advantage of our technical support by clicking here: go to support. We will be happy to solve your problem and make everything work as it should!Ready? Now your website can gain new capabilities - good luck!